Web App
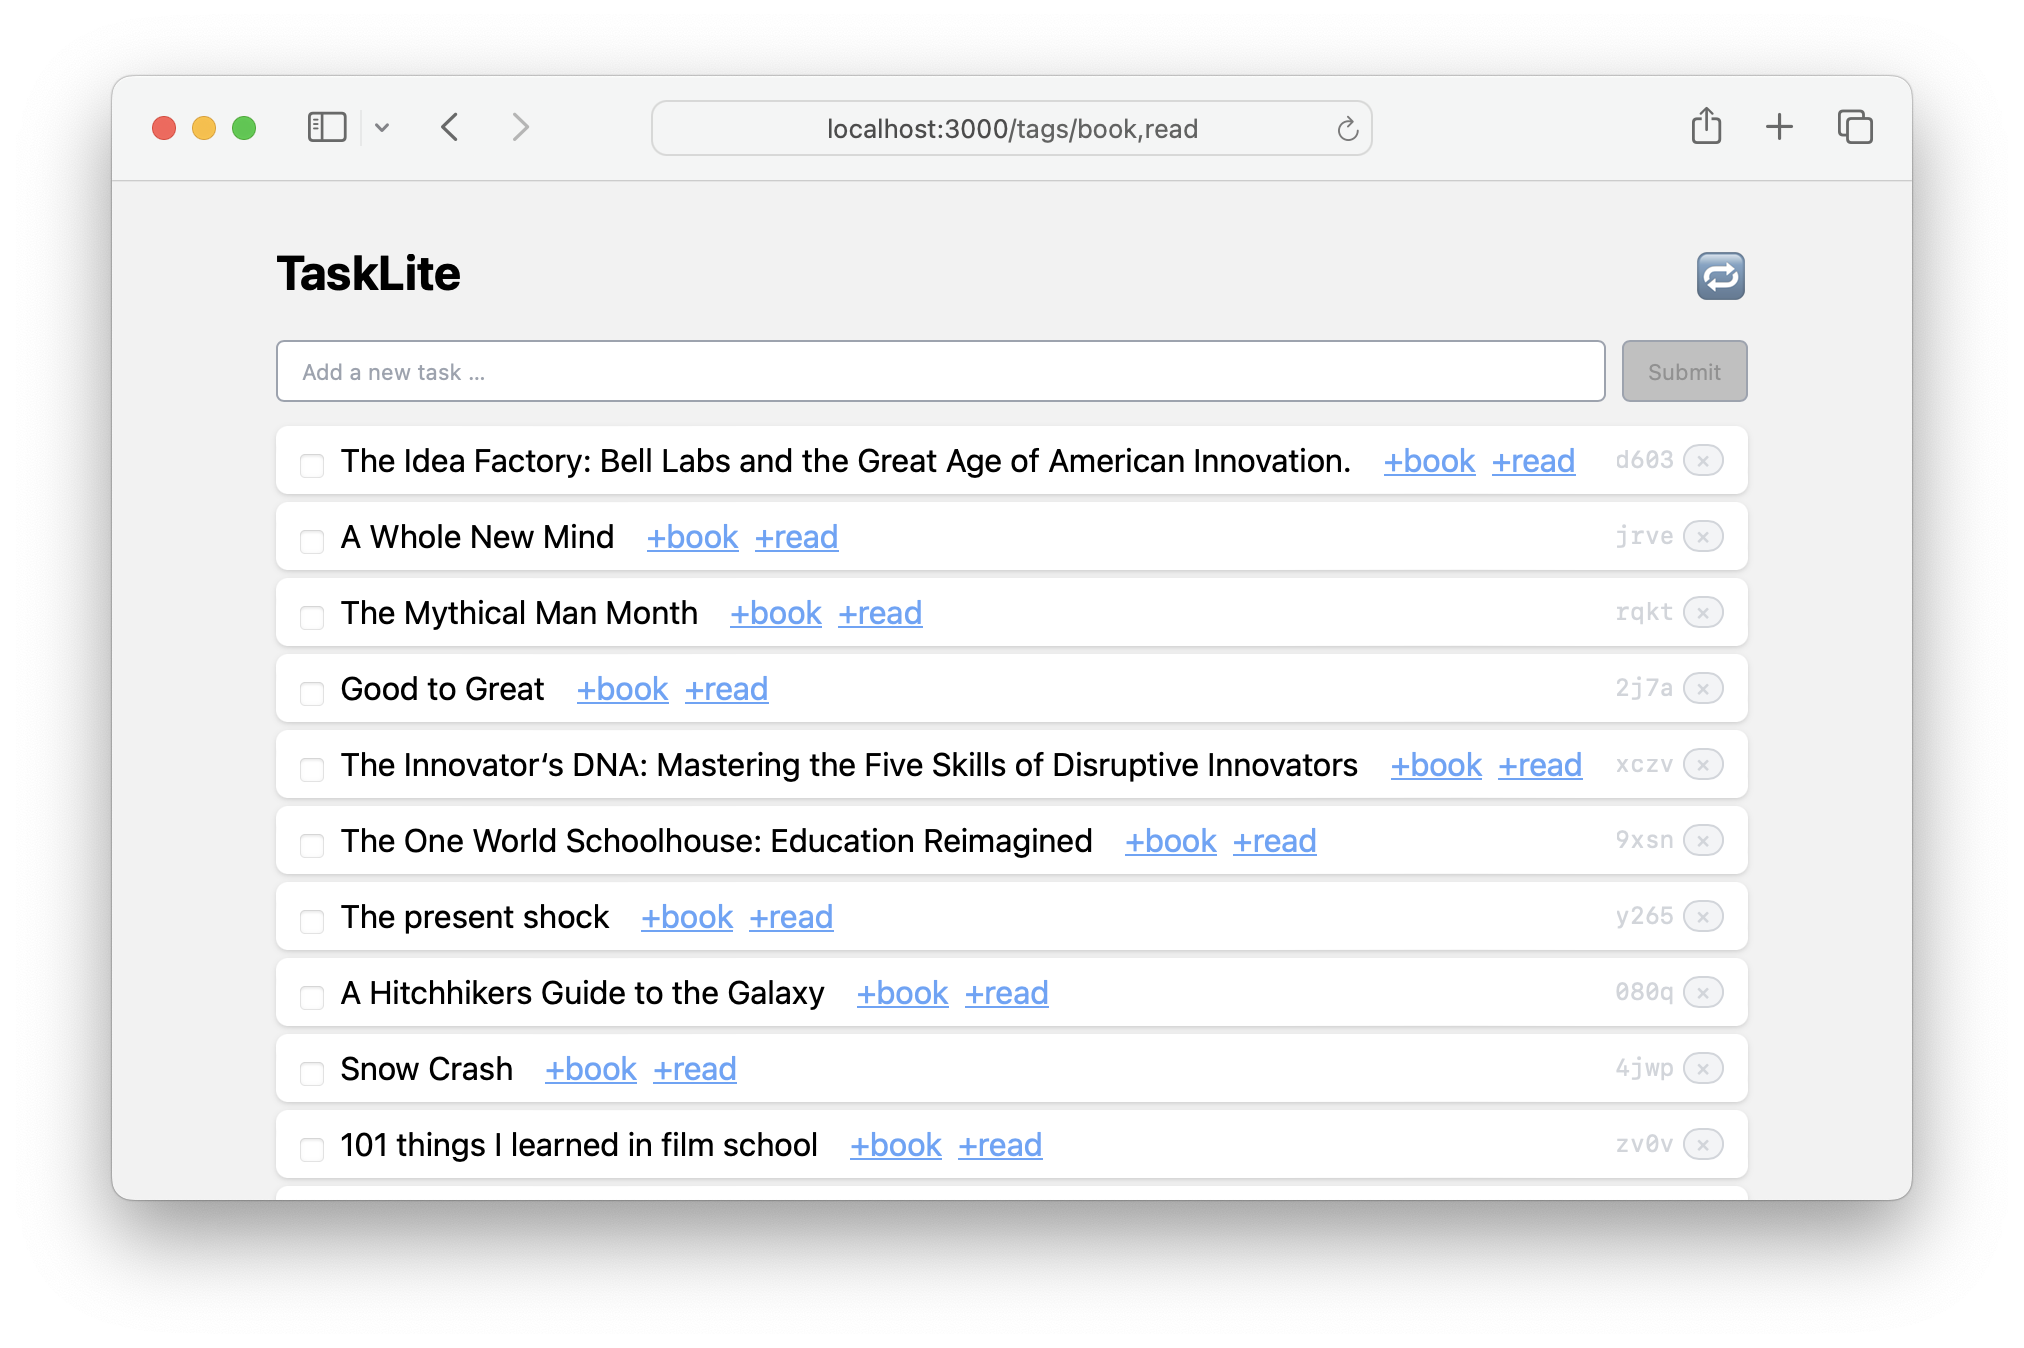
The TaskLite web app is a simple Elm Land app backed by an AirGQL GraphQL server.
Usage
Start the Server
The TaskLite server provides the GraphQL API and also serves the web app. First build the web app:
git clone https://github.com/ad-si/TaskLite
cd TaskLite/tasklite-webapp
make build
Then start the server from the root of the repository:
cd ..
tasklite server
The web app will then be available at localhost:7458 and the GraphQL API at localhost:7458/graphql. The server only accepts connections from the local machine.
The web app is served from tasklite-webapp/build
relative to the current working directory.
If the server is started from another directory,
only the API is available.
Run in the Background on OS Start
The services directory contains files to start the server automatically.
They assume that tasklite is installed at ~/.local/bin/tasklite
(the location used by make install).
If it is installed somewhere else (check with command -v tasklite),
adjust the path in the file.
Run the following commands from the root of the repository after building the web app as described above.
macOS
Install the LaunchAgent and load it:
sed \
  -e "s|REPLACE_HOME|$HOME|g" \
  -e "s|REPLACE_REPO_PATH|$PWD|g" \
  services/com.tasklite.server.plist \
  > ~/Library/LaunchAgents/com.tasklite.server.plist

launchctl bootstrap gui/$(id -u) ~/Library/LaunchAgents/com.tasklite.server.plist
The server now starts whenever you log in
and is restarted if it crashes.
Logs are written to ~/Library/Logs/tasklite.out.log
and ~/Library/Logs/tasklite.err.log.
To restart it (e.g. after installing a new version of TaskLite):
launchctl kickstart -k gui/$(id -u)/com.tasklite.server
To stop it and disable the automatic start:
launchctl bootout gui/$(id -u)/com.tasklite.server
rm ~/Library/LaunchAgents/com.tasklite.server.plist
Linux
Install the systemd user service and enable it:
mkdir -p ~/.config/systemd/user

sed "s|REPLACE_REPO_PATH|$PWD|g" \
  services/tasklite-server.service \
  > ~/.config/systemd/user/tasklite-server.service

systemctl --user daemon-reload
systemctl --user enable --now tasklite-server
The server now starts whenever you log in
and is restarted if it crashes.
To start it at boot, even before you log in,
run loginctl enable-linger.
Show the logs with journalctl --user --unit tasklite-server.
To restart it (e.g. after installing a new version of TaskLite):
systemctl --user restart tasklite-server
To stop it and disable the automatic start:
systemctl --user disable --now tasklite-server
rm ~/.config/systemd/user/tasklite-server.service
Development
To work on the web app, start the development server while the TaskLite server is running:
cd tasklite-webapp
make start
The development version will then be available at localhost:7459.
Dashboard
A simple way to create a dashboard with multiple views is to create an HTML file with multiple iframes that load the different views.
<!DOCTYPE html>
<html>
<head>
  <meta charset="utf-8">
  <meta name="viewport" content="width=device-width, initial-scale=1">
  <title>TaskLite Dashboard</title>
  <link
    rel="icon"
    type="image/png"
    href="https://raw.githubusercontent.com/ad-si/TaskLite/master/docs-source/images/icon.png"
  >
  <style type="text/css">
    * { margin: 0; padding: 0; border: 0; box-sizing: border-box; }
    html { height: 100%; }
    body { height: 100%; font-family: sans-serif; }
    header { padding: 0.5rem; }
    iframe { width: 100%; height: 100%; }
    #grid {
      display: grid;
      grid-template-columns: 1fr 1fr;
      grid-template-rows: 1fr 1fr;
      height: 100%;
    }
  </style>
</head>
<body>
  <div id="grid">
    <iframe src="http://localhost:7458/tags/focus"></iframe>
    <iframe src="http://localhost:7458/tags/chore"></iframe>
    <iframe src="http://localhost:7458/tags/buy"></iframe>
    <iframe src="http://localhost:7458/tags/work"></iframe>
  </div>
</body>
</html>